Saturday, December 8, 2012

Cookie Cutter Ornament Project!

Cookie Cutter Ornament Project
by Becky Meverden  Copyright 2012 
Materials:
Christmas tree cookie cutter
Fabric scrap
Rick rack
Buttons (I switched out the rhinestones at the last minute
Adhesive
Thin lined marker
Scissors
Cording or string
1. Place a line of glue around the back perimeter of the cookie cutter and place onto fabric.  Let dry.
2.  Cut excess fabric around entire cookie cutter.  Don't worry if fabric pulls away from the cutter, you can reapply the glue when you are finished.
 3.  Place a line of glue around the entire side of the cookie cutter.  Follow with the rick rack, starting at the bottom of the cutter.  Cut off excess.
 4.  Glue buttons on each side.
5.  Press the top fabric out to allow a hole for the cording. 
6.  String with cording.

Wednesday, December 5, 2012

The Front Page!

I was contacted a few weeks ago by an editor at our local newspaper wanting to do a feature on me.  I was really excited to talk about Korea and all the things I did there.  We did the interview over the phone and I followed up by sending her some photos. 

I had not restarted our subscription to the Press so when I found out it was in this week's paper I drove to the Press to restart our subscription and to pick up a few copies for me and the extended family.
                Only when I arrived home did I unfold the paper to find ME on the front page.

         The article continued on the back page of the newspaper along with a few more pictures.

You can also find the article online here.  It was really a thrill to see it and Kristine did a wonderful job of taking a hour long conversation and condensing it into wonderful story.  I hope you all enjoy it.

My Favorite Things - Part 2

watercolor journal - silk
Sue Bleiweiss creates the most amazing journals and books.  I bought one of her journals before our move to South Korea and filled it with memories. 

Amethyst Earrings, Cascade, 14K Gold-Filled, February Birthstone
I found Rae's jewelry while living in South Korea in 2007.  She also was living in Korea at the time and I love her style.  She is now living in the States just like myself.

Dragonfly Fairy Door Kids Wall Art Room Decor
Have you ever heard of fairy doors?  I have one of Kim's in my craftroom to the delight of Noah, my grandson.  They truly are magical.

Bichon Frise and Snowman Handsculpted Clay Figurine
Ginny makes the cutest polymer clay figurines.  Years ago, I bought a bichon frise pen which reminded me of our bichon, Daisy.  I still have the pen although sweet Daisy crossed the rainbow bridge in 2007.
Holiday star - Thin maple stripe wood christmas ornament
Love, love, love this.  Lucie also makes gorgeous jewelry.

White Kitten in a Stocking Cat ACEO Christmas Mini Paper Sculpture M Ross
Can you believe this is made from paper?  Simply amazing by Matthew Ross

.Teddy Bear Plushie Kawaii Style Creamy Cuddle Sherpa Fur Bear Small JACK
I just want to cuddle him.  I love Bijoukitty!

Kids Bright Orange Bird Stuffed Animal Childrens Handmade Plush Toy
I bought one of these for our grandson, Ezra.  Soooo cute!  You can buy them in all sorts of colors here.
Little Red Riding Hood hand made polymer clay brooch. Made to order piece of wearable art
                                                I want this so badly!

Miniature Cottage on Hill with Toadstools Teapot OOAK by C. Rohal
                                        and ANYTHING from here

Tuesday, December 4, 2012

My Favorite Things - Part 1

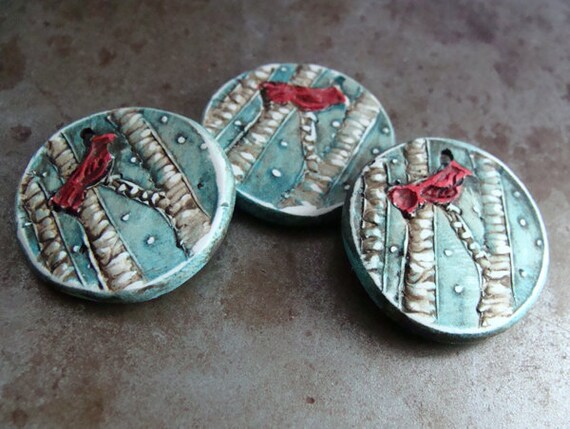
I thought I would share some of my favorite Etsy vendors. I LOVE Etsy! Cardinal in a Birch Forest Polymer Clay Pendant
These beads are made by Humblebeads.  Heather works in polymer clay and I have bought from her countless times over the years.  Her work is gorgeous.

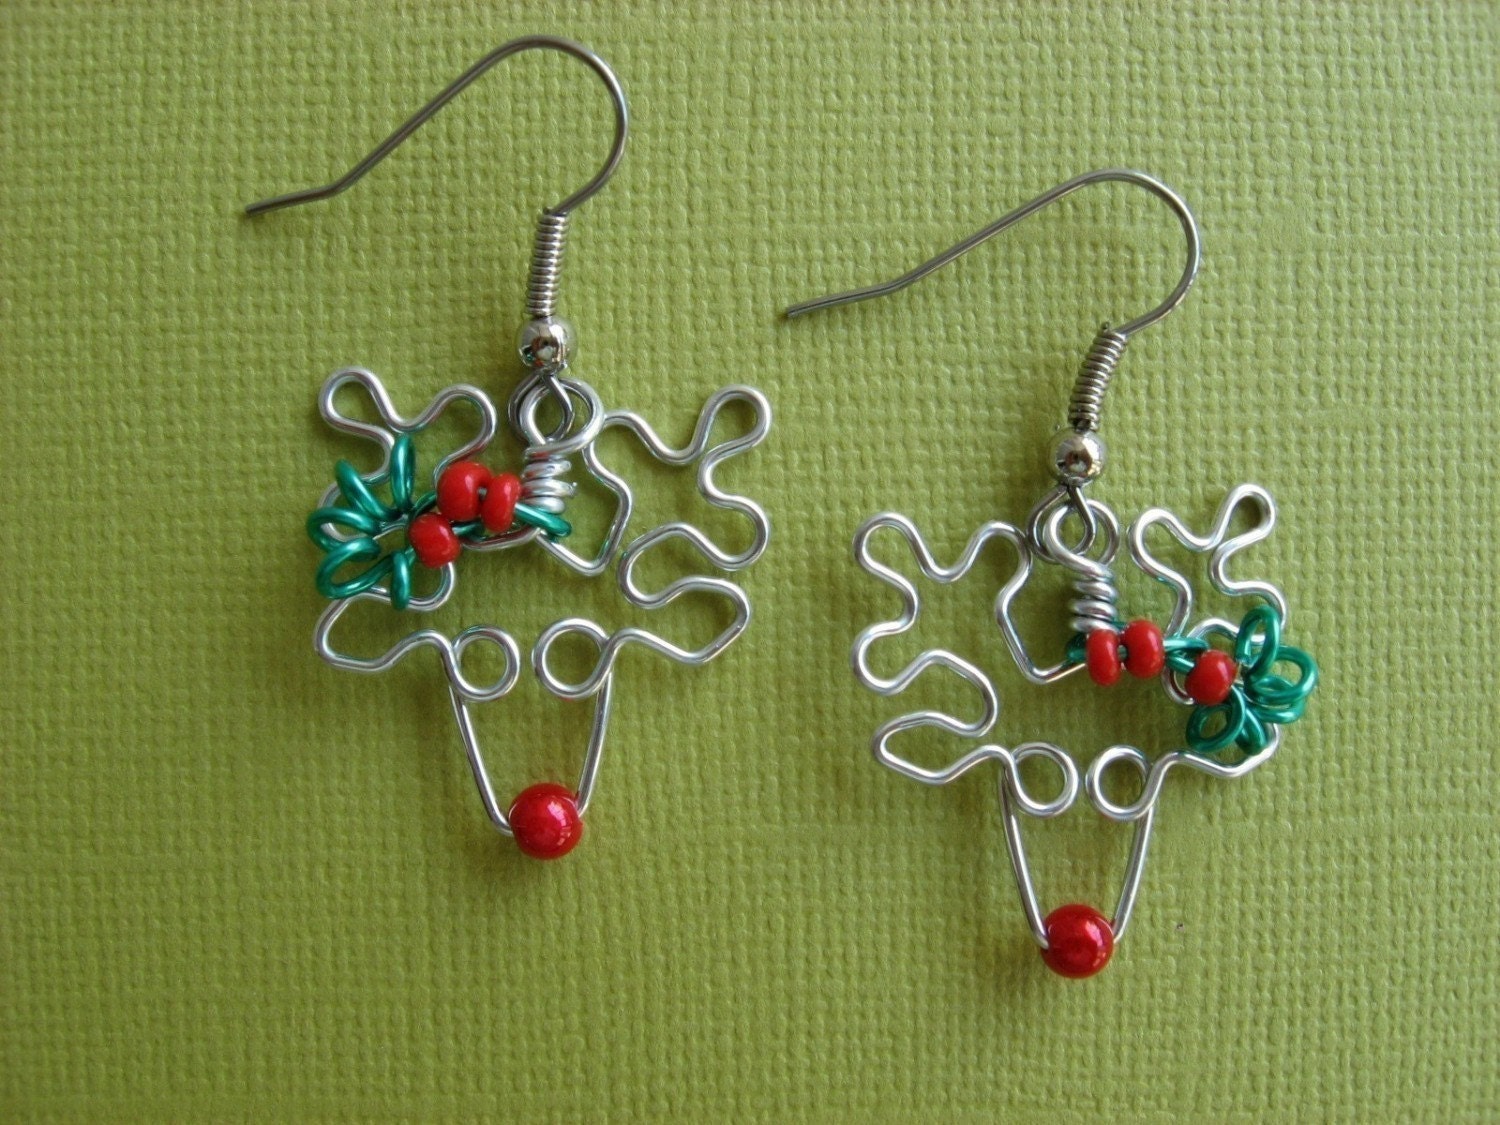
Mr. Rudolph reindeer earrings
These were just too cute to pass up.  They are so lightweight and I can't wait to wear them. You can find her Etsy site here.

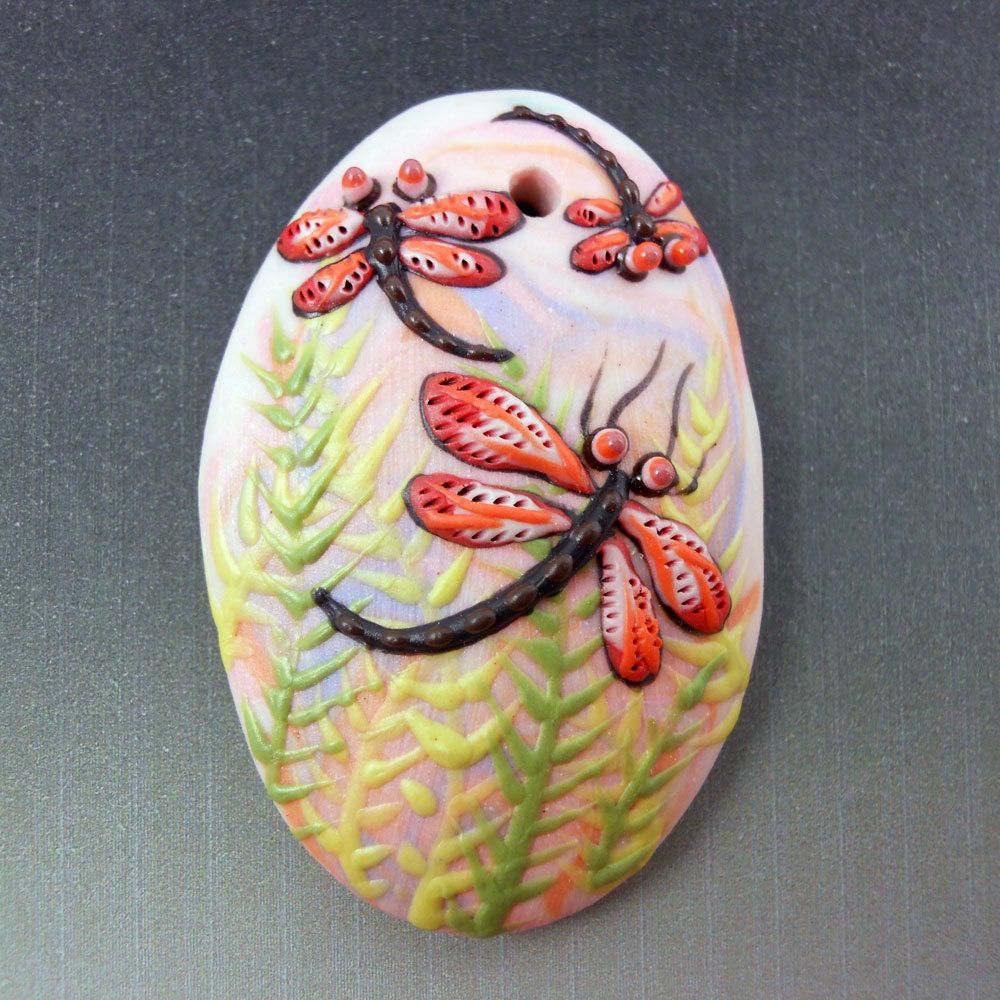
Dragonfly Fern Porcelain Pendant
Another place I've done a lot of shopping through the years, Joan Miller Porcelain.  I adore her!

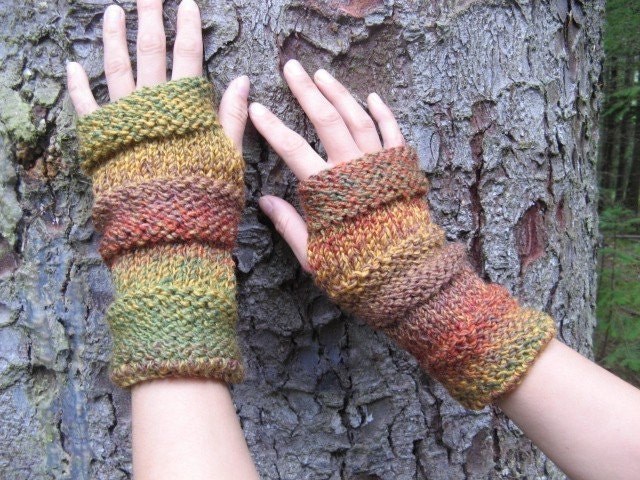
Comfy mittens in the shades of autumn
Even though I'm a knitter, I couldn't pass up these darling gloves.  The color and the price was all it took.  I love them.  You can find them here.

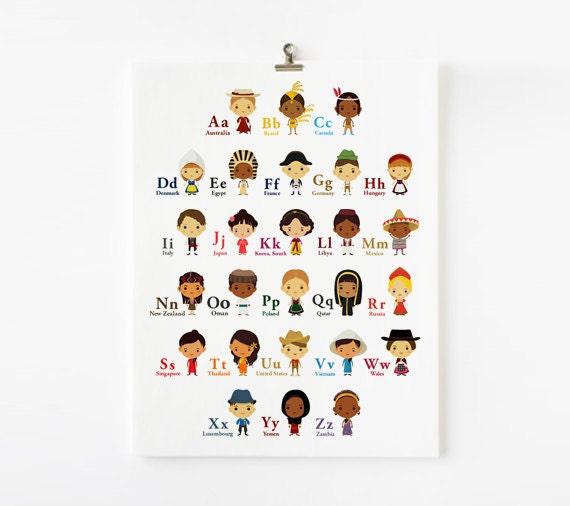
Alphabet A-Z Children Of The World With Their National Costume 8x10 Wall Art Poster
I love this and it's perfect for a child's room.  You can find it here.

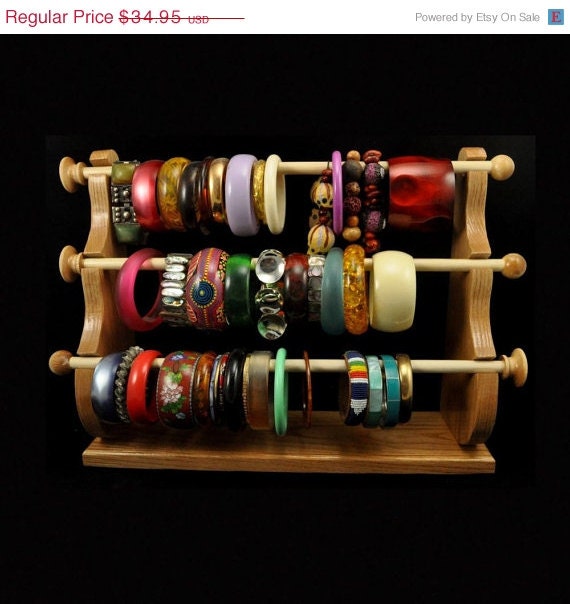
Standing Bracelet Holder Organizer Storage Display Oak
I love this bracelet holder. Now to fill mine up with bracelets!  You can find it here
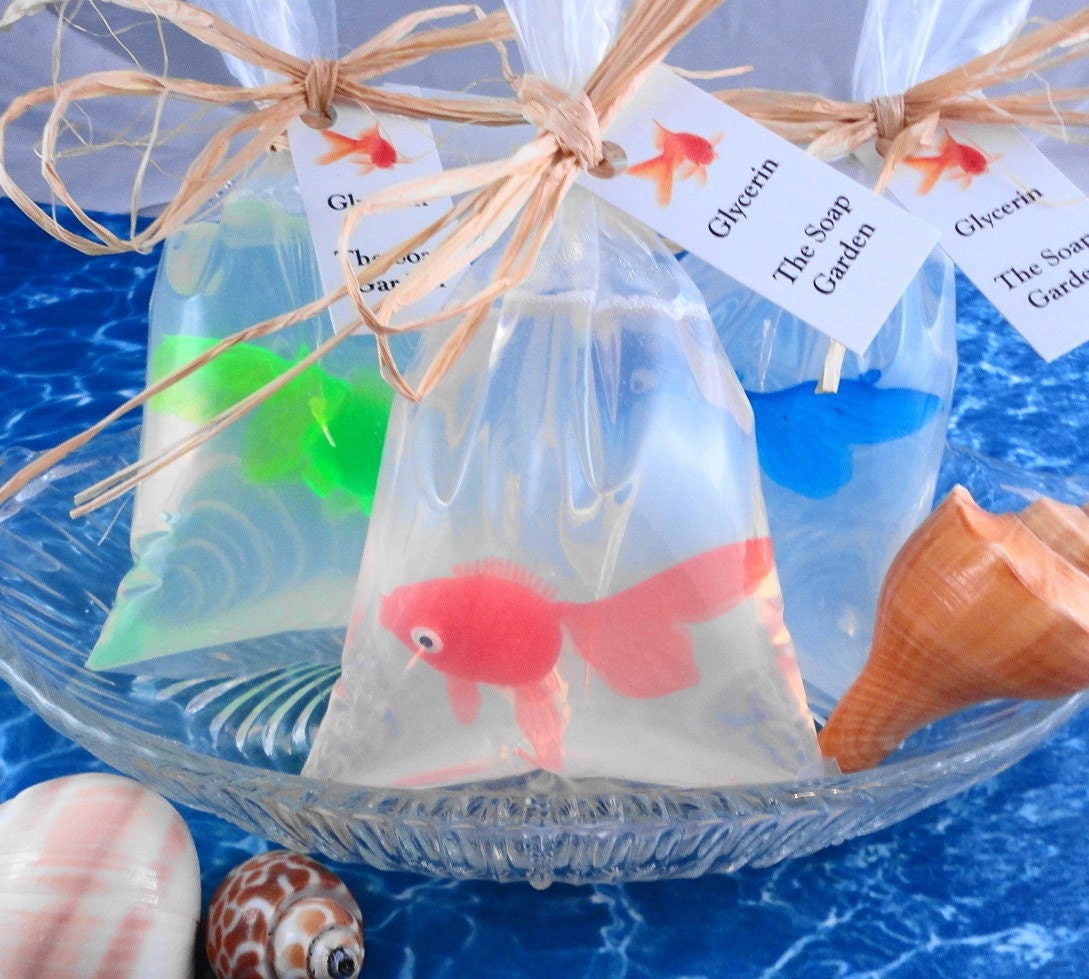
Soap - Goldfish in a Bag  Soap - Glycerin Soap - Handmade Soap -
I bought this for our grandson, Noah.  I thought it was the coolest thing I had seen in a long time.  You can find them here.

SALE 6 Mrs Claus Cookies Votive Candles Vanilla Scent

I love the candles of Woodcrafts and Candles!!  I've bought lots of the votive sets and they are fantastic.  The fragrances and how long they last plus the price keeps me coming back again and again.

remarkable
The polymer clay pendants of Heather Wynn Millican just make me smile!

Wooden Hand Painted Snowman Ornament

Handpainted and soooo cute, I love these.  Steph's Keepsakes has the cutest ornaments along with other items. 

Kid's Art Hankerchief Wall Quilt

This was such a fun project to do with my grandson, Noah.  I hope you enjoy it as much as we did making it.  You could also just use one hankerchief and make a pillow.  I Love To Create provided the fabric markers and I bought the hankerchiefs from Walmart.  I used fabric from my stash.
 
Materials:
Tulip Fabric Markers
6 hankerchiefs
2 1/2 yds. white fabric
2 yards fabric for sashing
1 5/8 yards for the border
Sewing machine, needles, thread, and ruler
Foamboard and masking tape - optional
1. Prewash the hankerchiefs and fabric before you begin.
2. The hankerchiefs are very thin so to prevent bleeding onto your surface I used a piece of foam board, cut slightly larger than the hankerchief.  Then use the masking tape to tape the hankerchief to the foamboard.
3. Next the fun part, coloring the hankerchiefs.  Noah worked really hard and did a great job.  Try to color at least 1/2 inch from the borders.
 4.  After all six hankerchiefs are colored, use the white fabric to cut out six squares the size of the hankerchiefs.  This will reinforce the hankerchiefs because of how thin they are.
5. Pin wrong sides together and baste a 1/4" seam around the entire hankerchief.
6.  Remove pins and repeat for all six hankerchiefs.
 7. Lay out the hankerchiefs to determine how you want them to look.
 8.  I used a 2" sashing and a 1" border.  You can do whatever you wish.  I used cotton batting and my walking foot on my sewing machine to quilt.  I sewed around each hankerchief and around the entire border to quilt.

9.  I also used this method to make tabs at the top of the quilt to make it easy to hang.

And Noah for all his incredible hard work was able to pick out a Legos set of his choice within reason.
                                This is what he chose and we had a great time putting it together.

Sunday, December 2, 2012

Riveting Metal Class

I thoroughly enjoyed my second metal class.  We learned how to rivet and I am hooked!  I had so much fun and learned a lot.  My friend Denise let me know about beaducation where I placed an order for more supples.  Even Rocketman was impressed with what I had made.
I also stopped by a local gift shop that features local crafters, The Farmer's Daughter.  It was started by the mother of one of my daughter's high school friends.  I hadn't stopped by in years and I'm so glad I did.  I picked up a few ornaments, my guilty pleasure.


Saturday, December 1, 2012

A Night of Korean Goodness!

 Rocketman and I were invited to the Korean Heritage House for dinner Friday night.  I was thrilled to go not only to get a night off of cooking but to enjoy some Korean cooking.  I couldn't wait to get there!  Don't you love the decorations?
There was cooking going on all over the place and I took special care to pay attention to what they were doing.  I enjoyed it so much.
           Then they needed someone to make mandu and next thing I know, I was making mandu.
                               This is Brooke checking on the rice in the rice cooker.
                                                                   Busy, busy me.
I wish Rocketman had taken some video of the chopping going on.  It was amazing watching them julienne the carrots along with the other vegetables. They were precise and quick.  I'm not sure a professional chef could have done a better job.
                                                    The food all ready for us to eat!
My plate.  I didn't realize how much rice I was given until I mixed everything up.  It was a ton of food.  We sat by the preparers of most of the food and heard shared some wonderful stories.  We really felt like we were back in Korea.  It was such a wonderful time.
Related Posts Plugin for WordPress, Blogger...