Showing posts with label polymer clay. Show all posts

Tuesday, March 17, 2015

Happy St. Patrick's Day!


This is one of the projects that was not included in my booklet "All Covered Up!" but is perfect for today.  If you would like to pick up a copy of that booklet, you can find it in my Etsy Shop. It has lots of great projects at a great price.

Spring has finally appeared with warmer temperatures here in Minnesota. We need a new deck especially since a couple of the cement footings were pushed up during the brutal winter of 2013-2014 making our entire deck crooked. Because of the cost of home repairs, we've had to prioritize the list.  Last year was the year of the new cement driveway and this year we decided is the year of the new deck. You would think I would have a plethora of contractors eager for the job but you would be wrong. So far, I have had one no right off the bat and two that were kinda "Umph, I'm sooo busy..."

But today was a banner day, a deck contractor actually came out to our home and is giving us a bid. Hallelujah! You would think this is getting to be prime time for deck builders and they would be excited for the opportunity. Rocketman and I are really perplexed with the attitude I'd been getting just trying to get a bid.

I'm hoping the guy today comes in with a good bid because he was really nice and seemed like he would love the job. Go figure. He also has great ratings.

Wednesday, July 24, 2013

A Wonderful Surprise from PolymerCAFE Magazine

I was contacted by Trina Williams, a contributor to PolymerCAFE magazine, a few weeks prior to our trip to South Korea asking if I would like to be their next featured artist. I was so surprised and happy for the opportunity. I had met Trina years ago during a taping of The Carol Duvall Show where she interviewed me along with other polymer clay artists there on that day for an article she was working on for the Polyinformer.

She started by emailing me a list of questions which I answered and emailed back. Then we spoke on the phone for some final questions and thoughts. They also wanted a polymer clay project to go along with the interview. I decided to put my love of Korea into the project and I made a Korean hanbok girl.

She turned out great and I love the photo Rocketman took of her. You can find my interview and the instructions on how to make the hanbok girl in the August 2013 edition of PolymerCAFE. I want to thank Trina for doing a wonderful job on the article. I am truly honored to be part of this wonderful magazine.

Wednesday, April 10, 2013

Noah's 7th Birthday Party!

Noah's Ninja Birthday Party!
 Last Saturday, Rocketman and me celebrated Noah's 7th birthday with a ninja themed party put on by his Mom and Dad.  Invited were his entire 1st grade class and some neighbors.  But because it was a holiday week a lot of kids were on vacation and the party ended up with 8 or so kids.  The kids had so much fun from checking out the baby chicks to playing Just Dance.
                                        Rocketman spent time keeping little Ez occupied.
We also did a clay project. We made a little polymer clay ninja. Here are the instructions so you can make your own ninja.
 
Polymer Clay Ninja
 
Materials:
Polymer clay: black, beige (flesh) and apple green
 
Instructions:
1. Sword - Roll a 1/4" green ball into a 1 1/2" long tapered log. Bake according to manufacturer's instructions and let cool.
2. Body - Roll a 7/8" black ball into a cone.
3. Arms - Roll two 3/8" black balls into tapered logs and press onto each side of the body. Hands - Roll two 3/16" beige balls into teardrops and press onto each arm.
4. Head - Roll a 11/16" black ball. Face - Flatten a 1/4" beige ball into an oval and press onto head. Eyes - Roll two 1/16" black balls and press onto face. Press head onto body.
5.  Press sword into the hands and position.
6. Bake according to manufacturer's instructions.


Here are their creations which I baked during the party.  They cooled in time to send home with each child. It was a fantastic time.

Saturday, December 29, 2012

Ghosts of Christmas Past - Mine

For Christmas, we went to Illinois to stay with my folks.  It had been a few years since we had done this and when I stepped into their home, I found myself thrown back in time.  I had forgotten all the crafts I had made for them over the years and it was wonderful to see my crafting Christmas past.  I wish I had kept some of these for myself when I created them long ago but at the time when you make 100 of something, you are really sick of looking at it. It was at the time in my crafting career when I was doing lots of craft shows.

 Santa stuck in a chimney.


 A Lucia commemorating my mother's Swedish heritage.
For breakfast one morning we went to the Stockholm Inn.  It was Christmas Eve and packed.  We came in the back way and we could tell it was going to be a long wait.  I asked the hostess how long the wait would be and was told 40 minutes to an hour.  We decided that would be too long (I'm so impatient when it comes to things like this) and we made our way through the restaurant to the back entrance.

Right by the back door was a long counter with only a few taken seats.  Even though we could sit across from each other, we could sit next to each other .  I suggested eating there and we all agreed.  The waitress, Carmen, was a hoot and put on quite a show for us as the chairs quickly filled.  We had to wait a long time (30 minutes) for our food but it was worth the wait.

A gentleman sitting down from us sat down and asked Carmen if she had any Wheaties or Cheerios.  She said, "Honey, if you came in for that kind of food, you better just get up and head out to the nearest grocery store and make it yourself.  We don't serve that kind of food here."  She was hilarious. 

Rocketman isn't the type of guy to split a meal but it's a favorite thing I do with my mom.  We both get plenty of food without leftovers.  We went with a bacon and cheese omelet and it was delicious.  My Dad got their famous Swedish pancakes and Rocketman went for a ham and cheese omelet.  We even were serenaded for a time and sang a round of "Jingle Bells." 

Saturday, December 15, 2012

Snowman Polymer Clay Ornament Project!

Last Friday, the day of the horrific killings at Sandy Hook Elementary School I went to Noah, our grandson's 1st grade class to teach them how to make this polymer clay ornament.  I thank God that I had errands to run before the class and that I did not know what had occurred until I returned home later that day.  I don't know how I would have gotten through the class without tears and sobs.  The children killed were the same age as my grandson and his classmates. 

 Snowman Face Ornament
by Becky Meverden copyright 2012
 
Materials:
Polymer clay: white, orange and black
Toothpick
Plastic straw
Blush and cotton swab
Red ribbon
 
When working with children and especially white polymer clay, make sure their hands are clean.  The white clay picks up everything and will get quite dirty.  Luckily, I brought papertowels and waterless handcleaner.
 
Instructions:
1.  Flatten a 1" white ball of clay into a circle.
2.  For eyes, roll two 1/8" black balls and press onto face.
3.  For squint lines, use toothpick to indent two lines next to each eye.
4.  For nose, roll a 3/8" orange ball into a oval.  Press onto face just under the eyes.
5.  Use toothpick to indent the mouth.  I start in the center of the nose and go out each side from there to insure that the mouth is even on both sides.
6.  Blush cheeks.
7.  Use straw to make hole for hanging.
8.  Bake in a 265 degree preheated oven for 30 minutes. Let cool.
9.  String with ribbon.
 

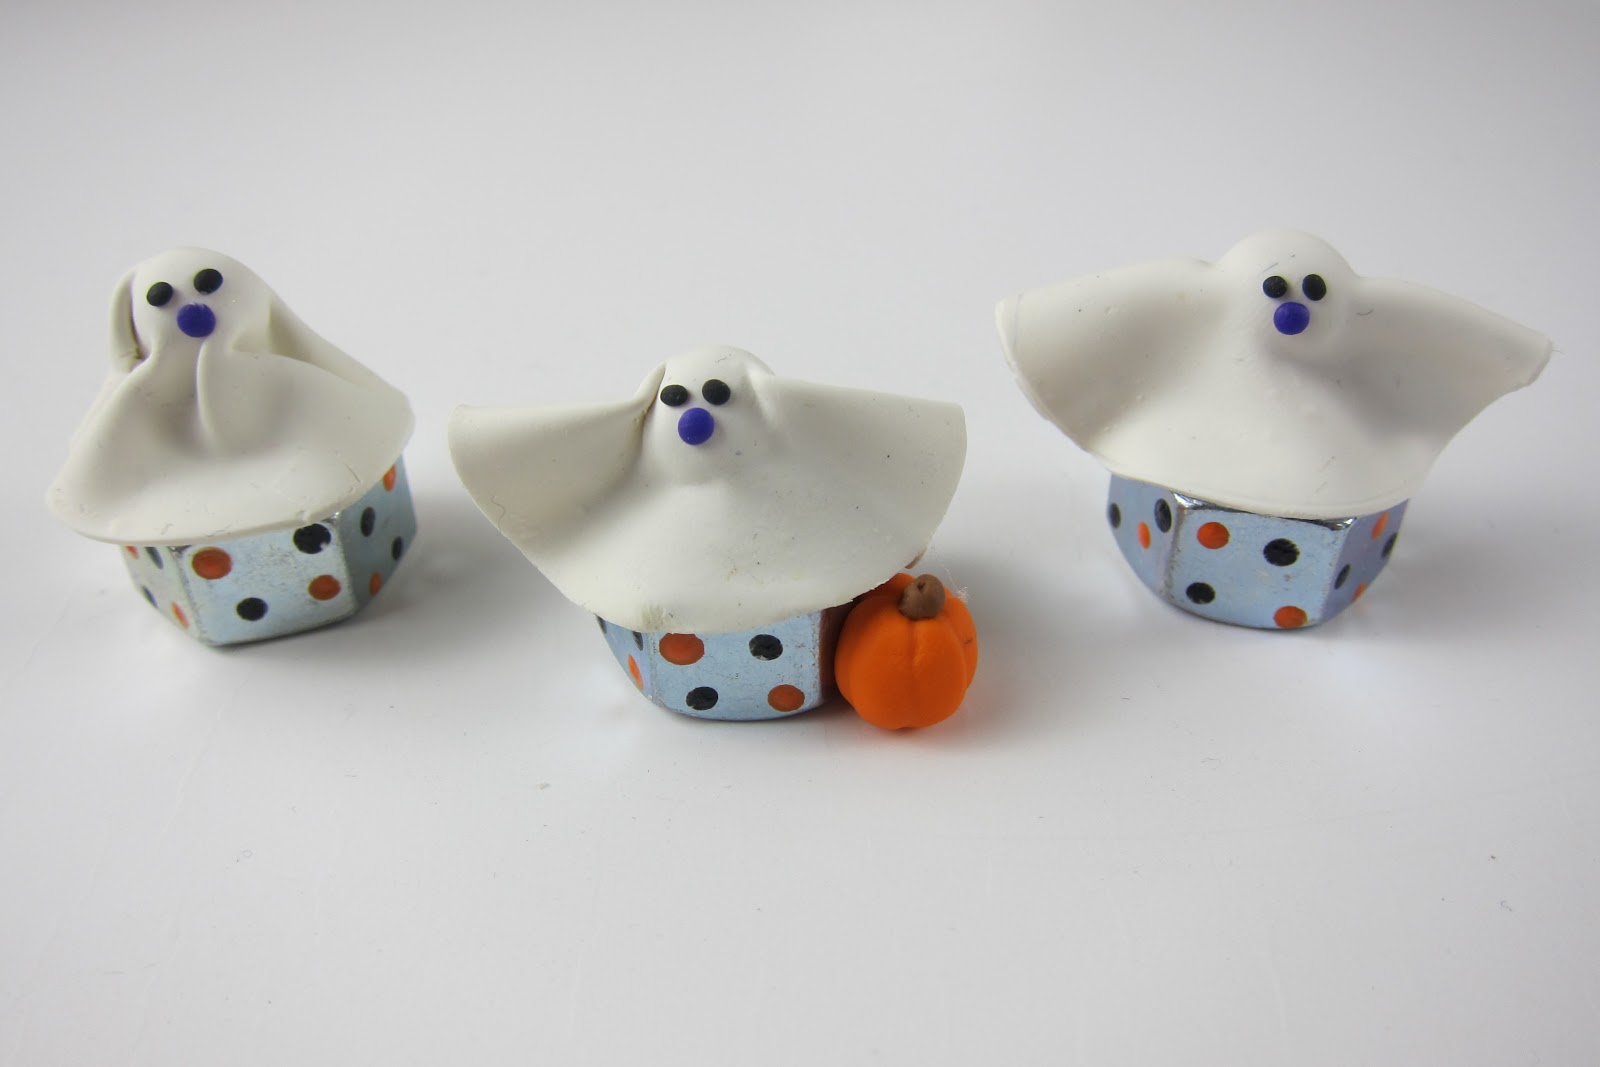
Here are Noah's classmates creations.  They all wanted to do the blush themselves and as you can see, a few really went crazy with it.  When I asked why they put it all over the face, they told me that it was because the snowman had been to the tanning salon and had a sunburn.  I had to giggle over that one.
Even Noah's teacher made one and the kids really enjoyed themselves.  I love how unique and different each one is.
I can't tell you how many hugs I got that day from the kids.  A couple of girls even told me that they wished I was their grandmother.
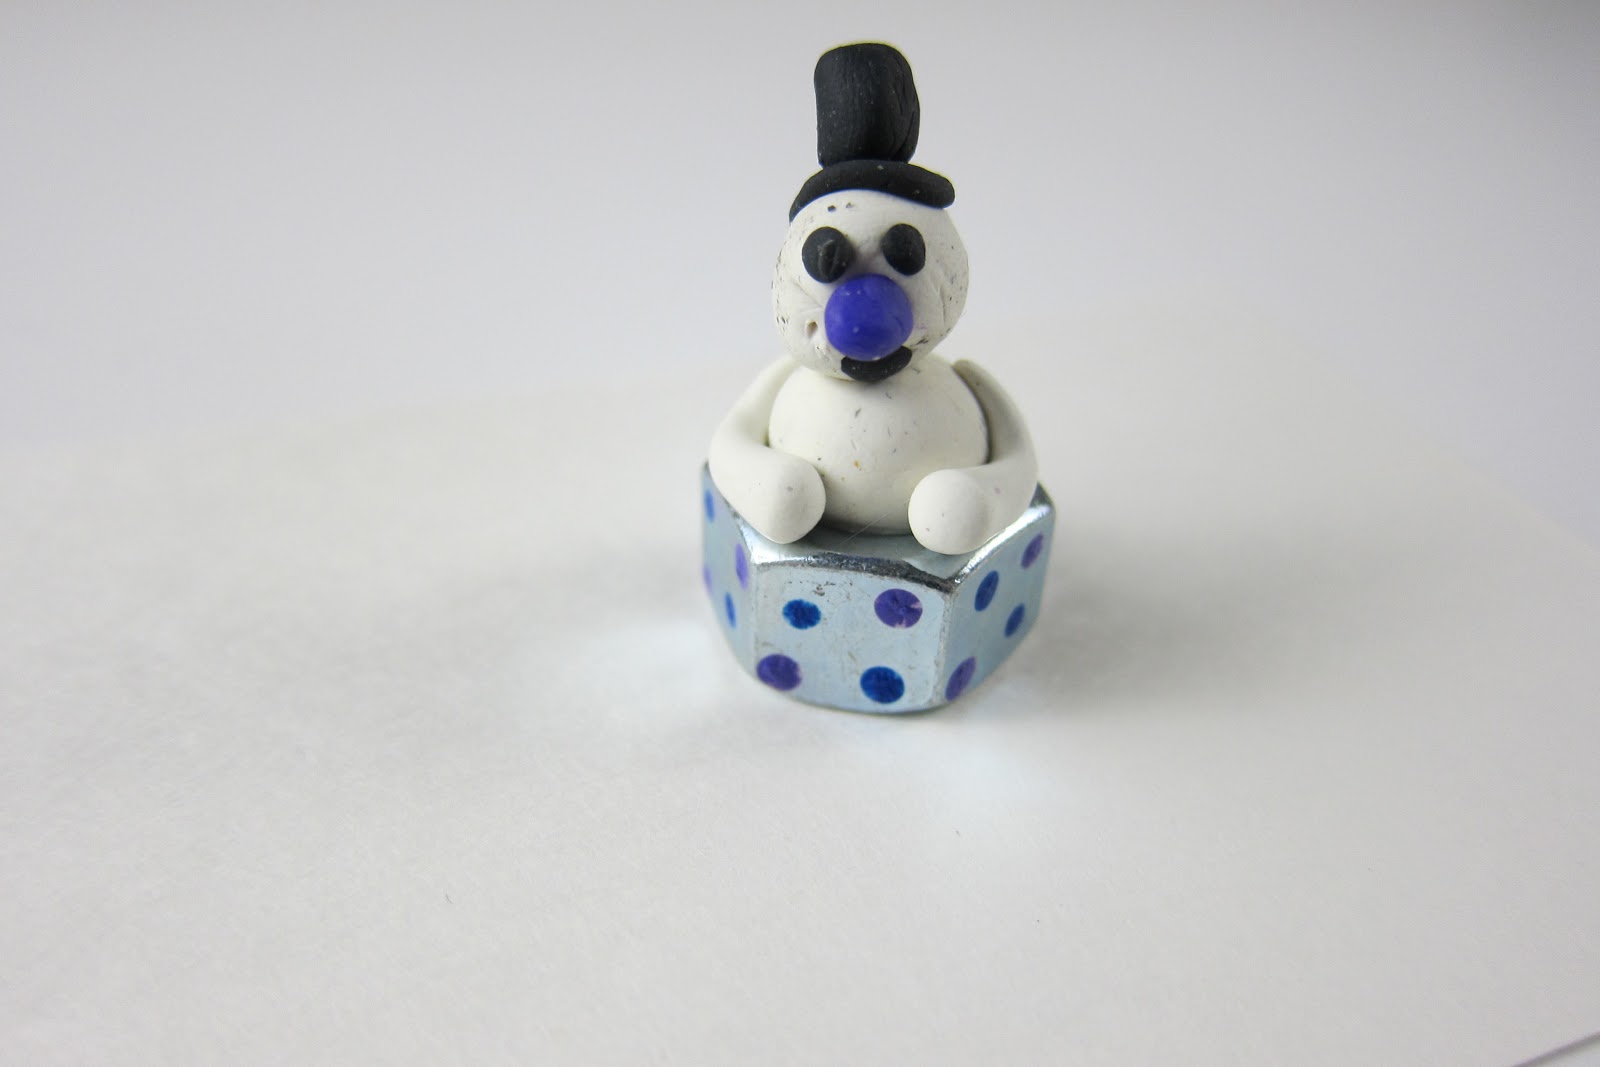
This is Noah's.  He was over the moon to have me there.  As soon as I walked in, he ran over with a huge smile on his face and gave me a huge hug.  I treasure these days because I know how fast time goes.  It doesn't seem so long ago that I was coming in to teach a clay class with his mother and his uncle.  I was also fortunate to have my sister live close so I continued the tradition with her children too. 

Wednesday, October 17, 2012

Halloween Crafting with Noah

Noah stayed overnight last weekend while Rocketman was in Asia and of course, he wanted to get out the polymer clay.  I was in a mini mood so I found some old bolts and used them as a base for some polymer clay ghosts.

                   Noah wanted to make a snowman and he made this all by himself.  We had a blast!
We met his mama and little brother, Ezra, at Donatelli's.  Rita even came out of the kitchen to give Ezra a squeeze.
They are having a pizza month with three very different kinds of pizza.  This is the Oktoberfest. This delicious pizza has a taste straight out of Germany. They take their thin 10” crust and layer it with slightly spicy horseradish mustard, thinly sliced Beer Brats, a handful of chopped white onions, sauerkraut and a mighty tasty smoked Gouda cheese.  I got it  without the onions and it was fantastic!!!

Rocketman landed yesterday from two and a half weeks in Asia.  As I was waiting for him near the International Exit, I spotted a Korean couple also waiting a few chairs down from mine.  Rocketman called as soon as he landed and I answered as I always answer him, "Yeobo sae yo."  I glanced up and the couple was leaning over staring at me.  It was so funny.

Then when Rocketman came through the doors, I greeted him Korean ajumma style with palms to his cheek with some more Korean.  I'm sure that Korean couple was wondering what was going on.

I had some trouble short term parking at the MSP.  They were flagging all the cars saying the lot was full and we would have to go to the other terminal which is the Humphrey terminal and far away.  The first set of guys I encountered I told them that my husband was landing in 15 minutes and coming from Japan and that he never is able to sleep on the plane and please oh please let me park in Short Term.

The first set waved me through and only me.  The second guy I can upon was NOT going to let me park so I gave him the whole spiel again.  By then I was really panicked and worried.  He finally let me through and I found a parking spot very close to the entrance and was very grateful.  I still don't know what is going on at the airport.

Saturday, September 8, 2012

Halloween Polymer Clay!

 
Copyright 2012 Becky Meverden
 

Polka Dot Pumpkin Magnet
by Becky Meverden

Materials
Polymer clay - For pumpkin: orange, brown, white, black, Polka dots: magenta or purple
Toothpick
1/2" round magnet
3/4" round Kemper cutter, optional
E6000 adhesive

Instructions
1.  Flatten a 1" orange ball into a 1 5/8" circle.  Use your fingers to flatten the ball and  have the center thicker than the edges.

2.  Use a toothpick to indent lines on the pumpkin.

3.  For the stem, roll a 5/16" brown ball into a 1/4" long tapered log.  Use a toothpick to indent lines all over the stem.  Press onto the back of the pumpkin.

4.  For the eyes, flatten 2 3/16" white balls into teardrops.  Press onto pumpkin.  For the pupils, flatten 2 3/32" black balls and press them onto the eyes.  Use a toothpick to make two squint lines by each eye.

5.  For the eyebrows, roll two 1/8" orange balls into 1/4" long tapered logs.  Press above each eye.

6.  For the nose, roll a 1/4" orange ball into an oval and press onto the pumpkin.

7.  For the mouth, press the lower half of a round cutter into the pumpkin.  You can also use the lid of a tub margarine container.  Cut a 1" x 2" strip, use your fingers to curve one end and press into the pumpkin.  Use a toothpick to place a hole on both sides of the mouth.

8.  For the polka dots, roll 1/8" magenta (or whatever color you choose) balls and press randomly all over pumpkin.

9.  Bake in a preheated 265 degree oven for 30 minutes.  Let cool.

10.  Glue magnet to the back of the pumpkin.
 

We broke out the polymer clay while Noah was here also.  I forgot how much I love the stuff!!  I made the pumpkin refrigerator magnets and Noah made the pumpkins in the photo above.  He loved it!


Monday, June 18, 2012

Claying with Noah

I haven't touch my polymer clay for, well let's say a long, long time, but it only took an interest from Noah for me to pull out my clay box, dust it off and jump right back in.  I thought I would be rusty but one of the things I love about polymer clay is that it is so forgiving.  We started by making monsters.  Mine is on the right.
Then we made a couple of farm animals from my Leisure Arts booklet "I Can't Believe I'm Sculpting Clay Figures."  I have several of my booklets in my Etsy store for sale right now.
                                                                He loved how they turned out!!!
Then last Wednesday we ventured down to Maureen's and her Center for Creative Arts in Jordan, MN.  She has kid's clay classes every Wednesday and I took Noah as I had his mother and uncle all those years ago.
It's truly a magical place and you can't help but smile as you look around at all the things she has on display.
                                                         Noah was so excited to be there.
 Maureen did a lot of demoing so we would know exactly what to do.  We were making a dragon.
       Finished dragons.  It was so cool to see all the creativity.  I love to see how creative kids can be.

                                                                Noah and Maureen
                                             My dragon which I sent home with Noah.
                                                                         Noah's dragon.
Maureen even had a giveaway at the end of class and Noah was lucky enough to win a copy of one of Maureen's books.  I made sure to have it autographed for him. 

Maureen was my first polymer clay teacher and that was over 20 years ago.  She's been a mentor and friend of mine ever since.  If you ever are in Minnesota, I highly recommend taking a class from her.  It is something you will never forget.  You can see what she has to offer on her website.  Her Wednesday kid's class schedule is here.  You just might see me and Noah.
Related Posts Plugin for WordPress, Blogger...